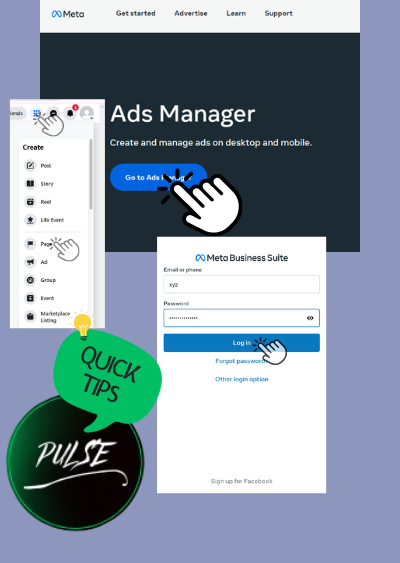
In today’s digital era, advertising on Facebook is a must for businesses looking to expand their reach. Setting up a Facebook ad account is your first step towards tapping into this vast audience. Here’s a straightforward, step-by-step guide to get you started, designed for beginners and crafted in plain, simple English.
Step 1: Create a Facebook Business Page
Before you can advertise, you need a Facebook Business Page. If you haven’t got one yet, go to Facebook and click “Create” at the top right. Choose “Page” and follow the prompts to set it up. Remember, a Business Page is different from your personal profile; it’s a public face for your brand on Facebook.
Step 2: Set Up Your Facebook Business Manager
Business Manager is a tool that helps manage your ad account and assets on Facebook. To create one, visit business.facebook.com and click “Create Account”. Enter your business name, your name, and your business email address. Follow the instructions to set it up.
Step 3: Create Your Ad Account in Business Manager
Once you have a Business Manager, it’s time to create your ad account. Inside Business Manager, you’ll find the “Ad Accounts” option under “Accounts”. Click “Add” and select “Create a New Ad Account”. Follow the instructions, inputting your account details. Choose your time zone, currency, and payment method carefully, as these cannot be changed later.
Step 4: Add Payment Information
To run ads, you need to set up a payment method. Go to your ad account settings within Business Manager, and find the “Payment Settings” section. Here, you can add your payment method. Facebook accepts credit cards, debit cards, and PayPal accounts, among other options.
Step 5: Understand Billing and Spending Limits
Familiarize yourself with how billing works on Facebook. You can set daily or lifetime budgets for your campaigns to control spending. Additionally, Facebook offers an option to set an overall account spending limit as an extra layer of control.
Step 6: Grant Access to Your Ad Account
If you’re working with a team, you’ll need to grant them access to your ad account. Go to “Ad Account Settings” in Business Manager, and use the “Account Roles” section to add people. You can assign different levels of access depending on their role.
Step 7: Create Your First Ad Campaign
Now, for the exciting part – creating your first ad campaign! Go to the Facebook Ads Manager and click the green “Create” button. Choose your campaign objective based on your advertising goal, such as brand awareness, traffic, or conversions. Follow the guided process to choose your audience, set your budget, design your ad, and launch your campaign.
Step 8: Monitor and Optimize Your Ads
Once your ads are running, monitoring their performance is crucial. Use the Ads Manager to track metrics like reach, impressions, clicks, and conversions. Use this data to tweak and optimize your campaigns for better performance.
Final Thoughts
Setting up a Facebook ad account might seem daunting at first, but by following these steps, you’ll be up and running in no time. Remember, the key to successful Facebook advertising lies in understanding your audience, setting clear goals, and continually optimizing your campaigns based on performance data. Happy advertising!
By keeping these steps in mind, you can effectively set up your Facebook ad account and start reaching your target audience with precision and efficiency.
